Automatic Theft Detection (ATD)
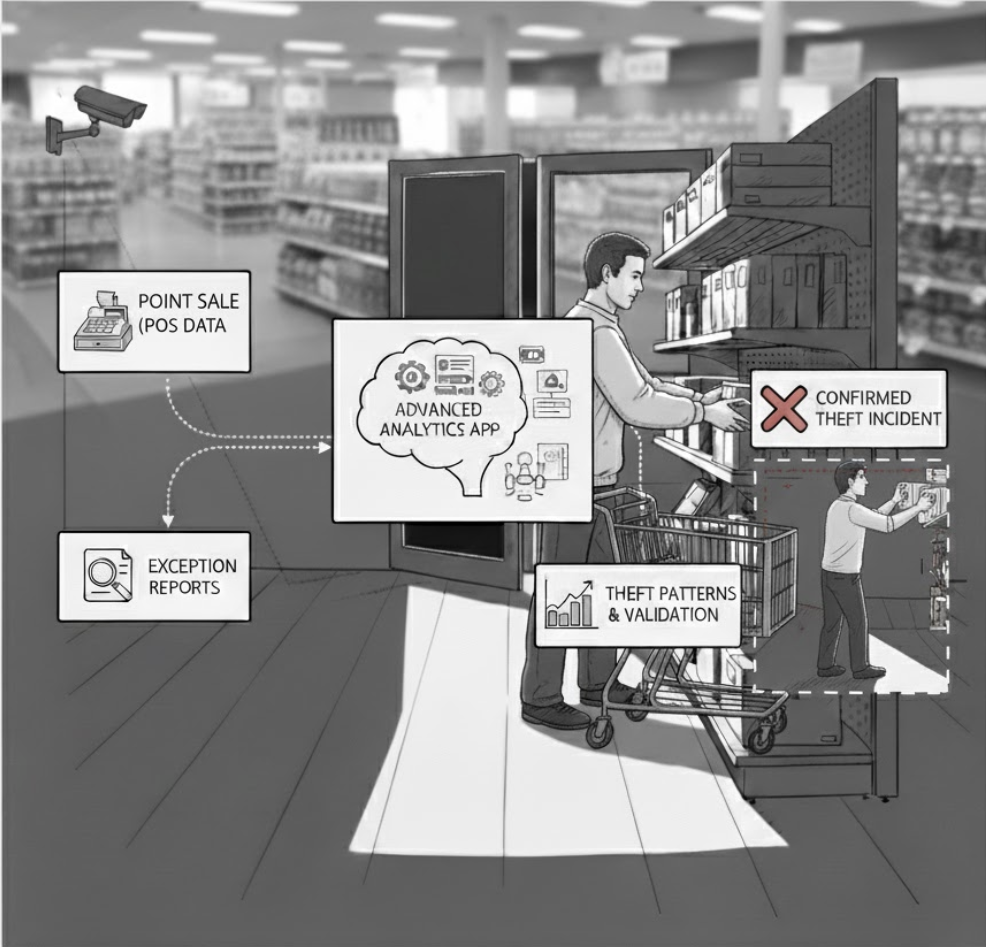
Automatic Theft Detection (ATD) analyzes historical transaction and security data to identify confirmed theft incidents.
ATD Overview
ATD enables you to:
- Upload historical theft and transaction data for analysis
- View theft incidents on a calendar for pattern recognition
- Analyze data ranges to identify high-risk periods
- Track upload history and data coverage
- Download processed data for external reporting
The ATD page displays different content based on whether the app is enabled or disabled for your store.
Enabling ATD
If ATD is not yet activated for your store, you'll see a disabled state with information about the app's benefits:
To enable ATD:
- Click the "Enable" button
- ATD will be activated for your store
- You can then begin uploading data
Once enabled, the full ATD interface becomes available with upload capabilities and data visualization tools.
Uploading Theft Data
The primary function of ATD is processing historical data to identify confirmed theft incidents. Upload your data files using the import feature.
Starting an Upload
- Click the "Import" button in the top-right corner
- The upload modal will appear
Selecting Files
You can add files in two ways:
Drag and Drop Drag data files from your computer directly onto the upload area in the modal.
File Browser Click "select file" to open your system's file browser and choose files to upload.
Supported file formats: - CSV (Comma-separated values) - XLS/XLSX (Excel spreadsheets)
File Requirements
Contact your ExpertVision support team for specific file format requirements and templates.
Completing the Upload
- Review the selected files shown in the upload modal
- Ensure the file names and data ranges are correct
- Click "Submit" to begin processing
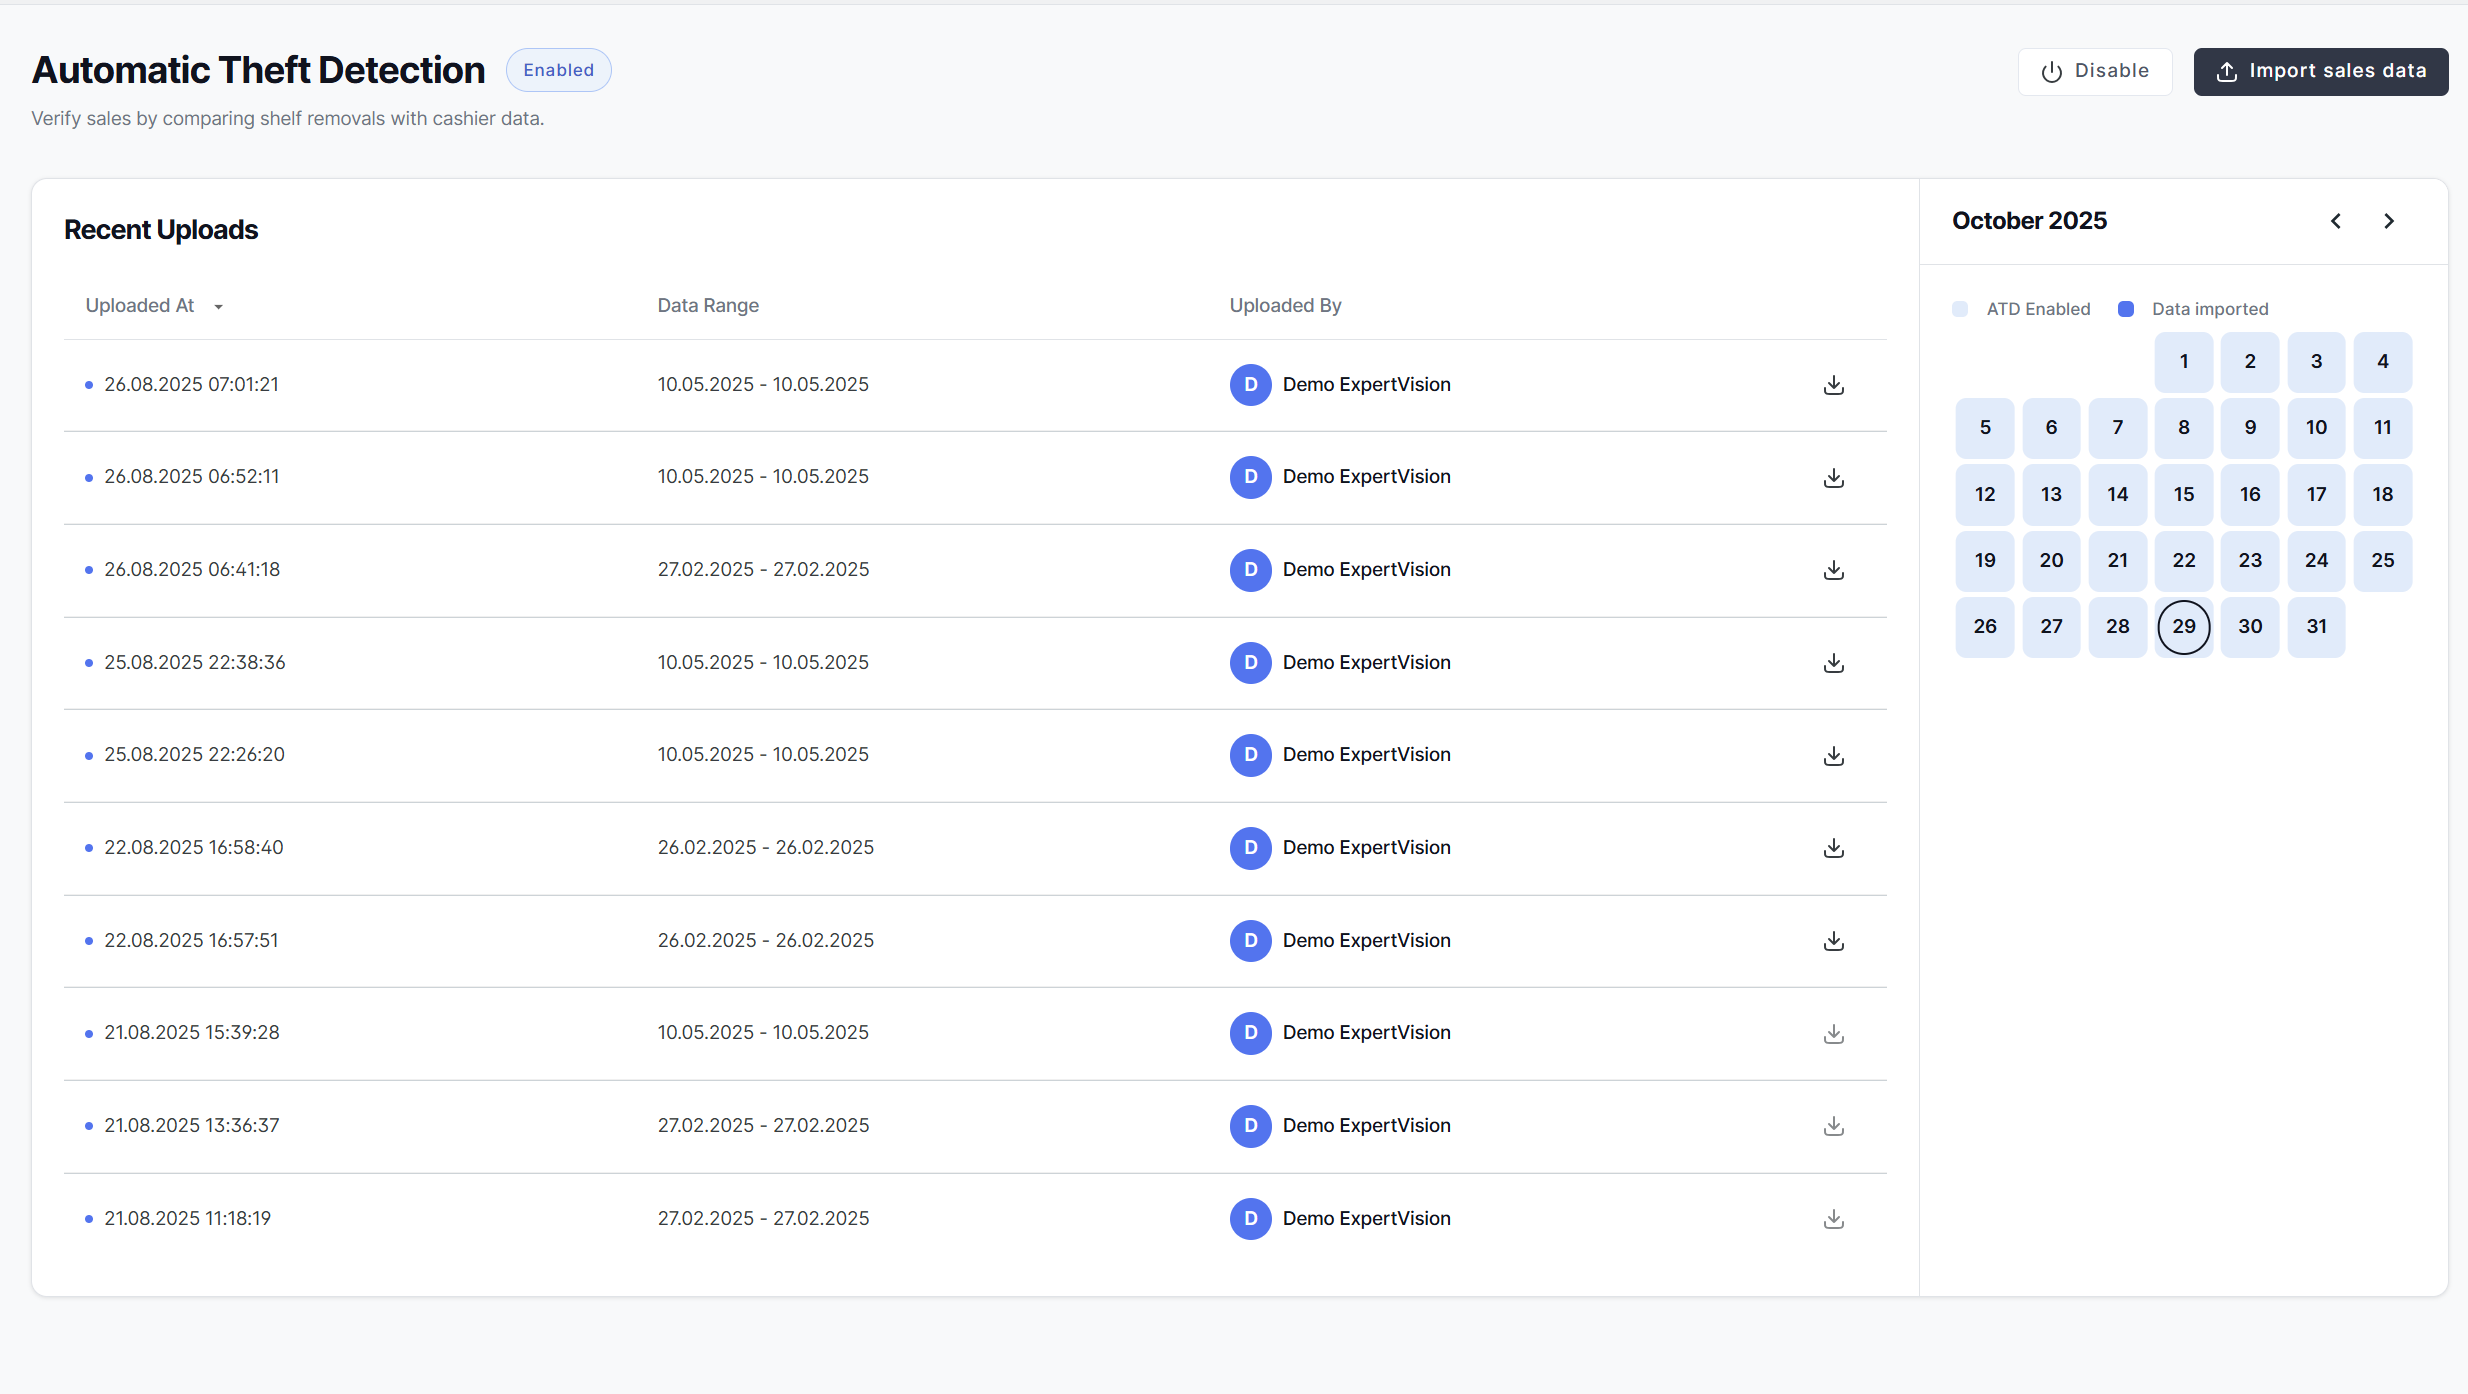
Recent Uploads
The main ATD interface displays a data grid showing your upload history:
For each upload, you can see: - Uploaded At: Date and timestamp when the file was uploaded - Data Range: The time period covered by the uploaded data - Uploaded By: User who performed the upload - Actions: Download the processed results
Viewing Upload Details
The uploads list shows:
- Status indicator (active/processing/complete)
- Data coverage period
- User avatar and name of uploader
- Download option (when processing is complete)
Downloading Results
Once processing is complete, download the ATD analysis results:
- Locate the upload in the recent uploads list
- Click the download icon
- The processed data file will be downloaded to your device
Calendar View
The calendar visualization shows theft incidents across time:
Calendar features:
- Days with confirmed theft incidents are highlighted
- Click any date to filter uploads and view that day's data
- Navigate between months using calendar controls
- Visual density indicates frequency of incidents
Using the calendar:
- Select a month and year using the navigation arrows
- Highlighted dates indicate days with theft activity
- Click a highlighted date to focus on that day's incidents
Configuration
Access advanced ATD settings by clicking the "Configuration" button (if enabled for your account):
Configuration options may include:
- Data source integrations
- Processing thresholds
- Alert generation rules
- Report format preferences
Contact your ExpertVision administrator for configuration assistance.
Disabling ATD
If you need to temporarily disable ATD:
- Click the "Disable" button
- Confirm you want to disable the app
- ATD will be deactivated
When disabled:
- Existing data is preserved
- No new uploads can be processed
- Historical uploads remain accessible
- You can re-enable ATD at any time